☁ Build and Manage APIs with Apigee: Challenge Lab | logbook


In this article, we will go through the lab GSP336 Build and Manage APIs with Apigee: Challenge Lab, which is an expert-level exercise on Qwiklabs. You will practice the skills and knowledge in the Build and Manage APIs with Apigee.
Topics tested:
- Create an API Facade and add functionality
- Share the APIs with partners through a developer portal
- Route traffic to different backend implementations of the API
The challenge contains 4 required tasks:
Task 1 - Create API Specification and Generate an API Proxy
Define a RESTful API in Apigee using an API specification
- Login to your Apigee account (https://login.apigee.com/login)
- In the Apigee console, select Develop > API Proxies from the left pane.
- Click on the +Proxy button to create a new proxy.
-
Create a Reverse proxy by clicking “Use OpenAPI Spec” as shown in the picture below.
-
In the Use OpenAPI Spec dialog, select Import from URL and enter the following values:
- OpenAPI Spec URL:
https://storage.googleapis.com/apigee-quest/data/ourbank-verification-v1.yaml - Spec name: e.g.
ourbank-verification-v1
- OpenAPI Spec URL:
- Click Import.
-
Find the “View JSON response” endpoint URL of Mock Target API from this Apigee Doc page, which is:
https://mocktarget.apigee.net/json -
Copy the URL to the field Target (Existing API), then click Next.
-
Check Add CORS header to enable CORS headers in Apigee, then click Next.
-
Click Next to continue.
-
Check the box next to default, then click Next.
-
Check the box next to default, then click Create and deploy.
Apigee now deploys the API proxy into your test environment. Click Edit proxy to view the deployed proxy.
Provision a Mock Response in Apigee
- On the page of API Proxies > Verification-API-v1, click the Develop tab in the top right.
-
To add a policy to your proxy, click on Proxy Endpoints → PreFlow in the Navigator tab, then in the Response pipeline, click + Step to add a step.
-
Select Assign Message from the left menu, then click Add.
-
Modify Policy Assign Message-1:
Replace the Set element in the policy with the below.
<Set>
   <Payload contentType="application/json">
      {"valid":true,"message":"mock response"}
   </Payload>
</Set>
After the above procedure, the Proxy Endpoints → PreFlow should look like the picture below.
Testing
The deployment can be tested using the following curl statement in the Cloud Shell:
export APIGEE_ORG=<YOUR_APIGEE_ORG_NAME>

curl -X POST \
  https://${APIGEE_ORG}-test.apigee.net/verification-api-v1/verifyCard \
  -H 'cache-control: no-cache' \
  -H 'content-type: application/json' \
  -H 'postman-token: 89236919-eabe-4357-e4c4-079f20ecd798' \
  -d '{
    "number": "2221005276762844",
    "cvv": "345",
    "expiration": "10/2025"
  } '
Replace <YOUR_APIGEE_ORG_NAME> with your Apigee organization name.
Upload API Proxy bundle to GCS
-
Go back to Apigee, click on Project > Download Revision at the top-right of the Deploy tab.
- Extract the downloaded zip file to your local storage.
- In the Cloud Console, click on Navigation Menu > Storage.
- Create a new bucket.
- Upload the
apiproxyfolder to the bucket.
Task 2 - Add Policies to the API Proxy
Create a service account with permissions to write logs
- In the Cloud Console, click on Navigation Menu > IAM & admin > Service accounts.
-
Click Create Service Account, then enter the following:
- Service account name:
apigee-stackdriver - Service account description:
Service account for Apigee Stackdriver integration
- Service account name:
- Click Create to continue.
- Click into Select a Role field and choose Logging > Logs Writer permission. Click Continue then click Done.
- After creating service account ‘apigee-stackdriver’, click on three dots at the right corner and click Create Key in the dropdown, then Create to download your JSON output.
Create an extension and deploy it to test the environment using this service account
- Go back to Apigee, navigate to Admin > Extensions from the left navigation menu, then + Add Extension to create a new extension.
- On the new Extension Properties page, click on the Google Stackdriver Logging extension.
- Enter a name (e.g.
stackdriver-logging-extension) and an optional description for the Extension instance, then click Create. - On the Extension detail page, click the arrow (>) for the test environment to configure the instance for the Apigee environment.
-
In the configuration dialog. enter the following information:
- Select the latest extension version from the Version dropdown list.
- Add your GCP Project ID (which you can get from the Home Console).
- Open the downloaded JSON file and copy/paste the contents into the Credential field in the Apigee UI.
- Click Save.
-
Once the configuration is saved, click on the Deploy button for the Test environment.
Create an Extension policy in the PostFlow response path
- In Apigee, navigate to Develop > API Proxies from the left menu.
- Click to open Verification-API-v1 from the proxy list.
- Click the Develop tab in the top right.
-
To add a policy to your proxy, click on Proxy Endpoints → PostFlow in the Navigator tab, then in the Response pipeline, click + Step to add a step.
-
In the left menu scroll down to the end, then select Extension Callout. Select your extension name from the Extension dropdown menu. Select Log from the Actions dropdown. Click Add.
-
Modify Policy Extension Callout-1:
- Replace the Input element in the policy with the below (make sure indentation is correct)
- Replace
PROJECT_ID_HEREwith GCP Project ID for this lab.
<Input><![CDATA[
   {  "logName": "example-log",
      "resource": {
            "type": "global",
            "labels": {
               "project_id": "PROJECT_ID_HERE"
            }
      },
         "message": {"Action":"{request.verb}","ClientIP": "{client.ip}", "developerApp": "{developer.app.name}", "apiKeyParam":"{request.queryparam.apikey}","responsePayload": {response.content}}
   }
]]></Input>
After the above procedure, the Proxy Endpoints → PostFlow should look like the picture below.
Add API Key verification
-
To add a policy to your proxy, click on Proxy Endpoints → PreFlow in the Navigator tab, then in the Response pipeline, click + Step to add a step.
-
Select Verify API Key from the left menu, then click Add.
After the above procedure, the Proxy Endpoints → PreFlow should look like the picture below.
Create an API Product and an App
- In Apigee, navigate to Publish > API Products from the left menu. Then Click + API Product.
-
Create a new API product with the following details:
- Name: e.g.
ourBank API - Display Name: e.g.
ourBank API - Environment: Check test
- Access: Select Public from the dropdown menu
- In the API resources section, API proxies list, click Add a proxy and select the Verification-API-v1 API proxy. Click Add(1).
The settings should look as follows:
- Name: e.g.
- Click Save to create the new API product.
- Navigate to Publish > Apps from the left menu. Then Click + App.
-
Enter the following:
- Name: e.g.
ourBank App - Display Name: e.g.
ourBank App - Company / Developer: Developer
- Developer: Use the helloworld@apigee.com developer account (which has been pre-populated for the Apigee trial environment).
- Name: e.g.
- Within the Credentials section, click the Add product button.
- Select ourBank API from the list and click Add (1).
-
Review that the configuration looks as below, and click Create.
- Once the app is created, the page displays details about the app credentials. Click Show on the Key row then copy the API key.
Testing
Replace <APP_API_KEY> with the key from the app credentials. Then, run the following curl statement in the Cloud Shell:
export APIKEY=<APP_API_KEY>

curl -X POST \
  https://${APIEE_ORG}-test.apigee.net/verification-api-v1/verifyCard?apikey=${APIKEY} \
  -H 'cache-control: no-cache' \
  -H 'content-type: application/json' \
  -H 'postman-token: 89236919-eabe-4357-e4c4-079f20ecd798' \
  -d '{
    "number": "2221005276762844",
    "cvv": "345",
    "expiration": "10/2025"
  } '
Successful response message:
{"valid":true,"message":"mock response"}
Error response message:
{"fault":{"faultstring":"Invalid ApiKey","detail":{"errorcode":"oauth.v2.InvalidApiKey"}}}
Task 3 - Create a Developer Portal for consuming the APIs
- In Apigee, navigate to Publish > Portals from the left menu. Then Click + Portal.
-
Enter a name, e.g.
ourBank Develop - Select APIs from the dropdown menu at the top.
- In the “Publish an API product” page, click on Get started.
-
Select the API Product (ourBank API) and click Next.
- Click Next > Next > Finish.
-
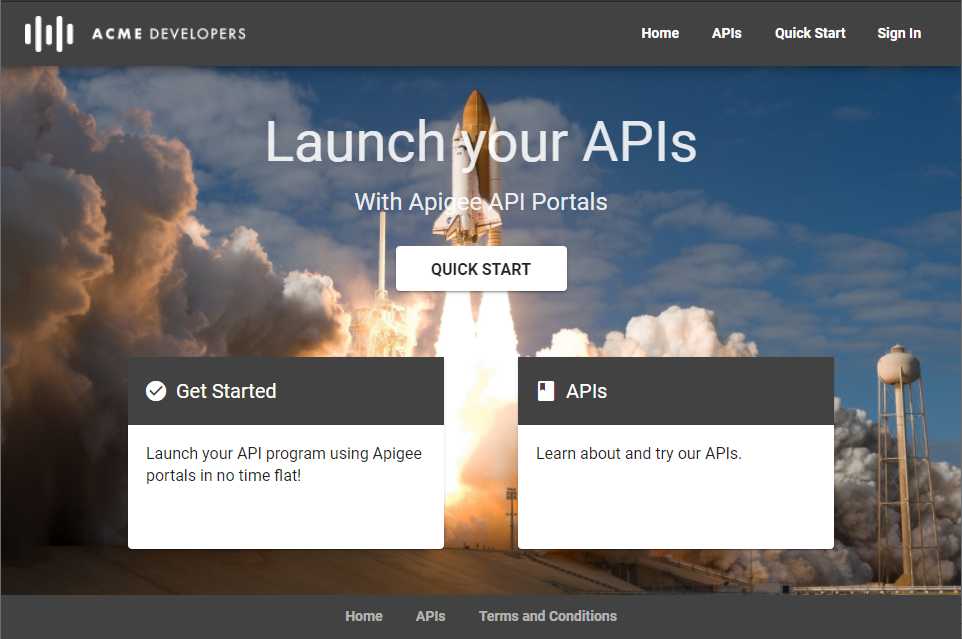
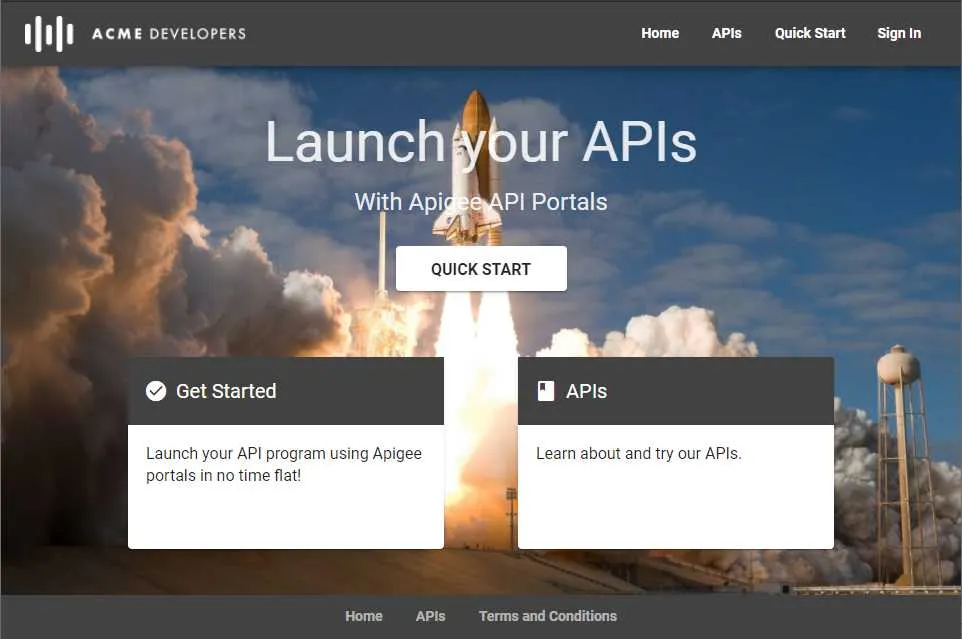
Click Live Portal at the top-right corner to test the new developer portal.
Task 4 - Route traffic from mock response to real backend
Deploy the real backend on Cloud Function
Go to the Cloud Shell, run the commands given in the lab.
   # Make subdirectories for the code
   mkdir bank-verification-service; cd bank-verification-service

   # Download the code
   wget https://storage.googleapis.com/apigee-quest/code/index.js
   wget https://storage.googleapis.com/apigee-quest/code/package.json

   # Deploy card verification function
   gcloud functions deploy verifyCard --runtime nodejs10 --trigger-http --allow-unauthenticated

   # Deploy address verification function
   gcloud functions deploy verifyAddress --runtime nodejs10 --trigger-http --allow-unauthenticated
Route traffic to these backends based on the incoming requests
- Go back to Apigee, navigate to API Proxies > Verification-API-v1, click the Develop tab in the top right.
-
To rename the mock API endpoint, click on Target Endpoints → default in the Navigator tab. Replace
<TargetEndpoint name="default">to<TargetEndpoint name="mock">. -
To add a new target endpoint, click on the plus sign (+) next to Target Endpoints in the Navigator tab.
-
Enter the following:
- Target Endpoint Name: e.g.
cloud - HTTP Target: The Cloud Function Endpoint (e.g.
https://<REGION>-<PROJECT-ID>.cloudfunctions.net)
- Target Endpoint Name: e.g.
- Click on Proxy Endpoints → default in the Navigator tab. Remove the Assign Message-1 from the Response pipeline.
-
Click on Target Endpoints → mock → PreFlow in the Navigator tab. Remove the Assign Message-1 from the Response pipeline. Drag the Assign Message-1 from Policies in the Navigator tab to the Response pipeline.
- Click on Target Endpoints → cloud → PreFlow in the Navigator tab. Drag the Add CORS from Policies in the Navigator tab to the Response pipeline.
-
Click on Proxy Endpoints → default → PreFlow in the Navigator tab. Replace the RouteRule tag with the following code,
<RouteRule name="mock"> <Condition>request.queryparam.mock = "true"</Condition> <TargetEndpoint>mock</TargetEndpoint> </RouteRule> <RouteRule name="default"> <TargetEndpoint>cloud</TargetEndpoint> </RouteRule> - Click Save.
Testing
Test the real backend routing using the curl statement below.
curl -X POST \
   https://${APIEE_ORG}-test.apigee.net/verification-api-v1/verifyCard?apikey=${APIKEY} \
   -H 'cache-control: no-cache' \
   -H 'content-type: application/json' \
   -H 'postman-token: 89236919-eabe-4357-e4c4-079f20ecd798' \
   -d '{
      "number": "2221005276762844",
      "cvv": "345",
      "expiration": "10/2025"
   } '
Expected output:
{"valid":true,"message":"credit card is valid"}
Test the mock response routing using the curl statement below.
curl -X POST \
   'https://${APIEE_ORG}-test.apigee.net/verification-api-v1/verifyCard?mock=true&apikey=${APIKEY}' \
   -H 'cache-control: no-cache' \
   -H 'content-type: application/json' \
   -H 'postman-token: 89236919-eabe-4357-e4c4-079f20ecd798' \
   -d '{
      "number": "2221005276762844",
      "cvv": "345",
      "expiration": "10/2025"
   } '
Expected output:
{"valid":true,"message":"mock response"}
Congratulations! You completed this challenge lab.
Demonstration Video
This browser does not support the YouTube video player. Watch on YouTube
⏱Timestamps:
00:00 Start Lab
--- Task 1 ---
00:40 Define a RESTful API in Apigee using an API specification
02:35 Provision a Mock Response in Apigee (Add Assign Message Policy)
03:06 Test the deployment for Task 1
03:58 Upload API Proxy bundle to GCS
--- Task 2 ---
05:11 Create a service account with permissions to write logs
06:28 Create a Google StackdriverLogging extension
07:54 Create an Extension policy in the PostFlow response path
09:27 Add API Key verification
10:03 Create an API Product and An App
11:12 Test the deployment for Task 2
--- Task 3 ---
13:11 Create a Developer Portal for consuming the APIs
--- Task 4 ---
14:30 Deploy the real backend on Cloud Function
15:50 Route traffic from mock response to real backend
18:31 Test the deployment for Task 4