☁ Build and Deploy a Docker Image to a Kubernetes Cluster | logbook
Containerization with Docker and Kubernetes (K8s) is an emerging application architecture for deploying, scaling and, managing distributed applications. The challenge lab GSP304 “Build and Deploy a Docker Image to a Kubernetes Cluster“ is a test to assess the essential professional skills in deploying your application on GKE.
Brief Introduction of Challenge Scenario
When you open the page of this lab on Qwiklabs, you can find the task requirements by click the green activity tracker (on the top right of the page) to expand the score box.

The screenshot above shows that there are 4 steps required for completing this lab. Combining with the instruction details, they are translated to the following mission statements.
-
Use the sample application and Docker configuration to build a Docker image, and push the image to the gcr.io repository with a
v1tag. -
A new Kubernetes cluster called
echo-clusterexists. -
The application called
echo-apphas been deployed to the cluster. -
The service called
echo-webexists that responds to requests like Echo-app.
Create a Kubernetes Cluster
In the web console, navigate to Kubernetes Engine > Clusters. Click Create a cluster with:
- Cluster name:
echo-cluster - Num of Nodes: 2
- Machine type: N1-standard-2
I recommend starting from preparing the hardware because the process takes time. You can continue doing the steps in the next section. The cluster should be ready when you finish building and pushing the docker image to Container Registry.
Build a Docker Image of Sample Application
If you do not remember how to build a docker image on GCP, I recommend you revise the lab “Introduction to Docker“ before you start.
-
(Optional) While the provisioning of lab resources, you may click the link below the timer to download the given archive called
echo-web.tar.gz. You may spend some time studying the contained files in your local storage. -
The
echo-web.tar.gzfile has already been copied to a Google Cloud Storage bucket calledgs://[PROJECT_ID]during the lab provision. Navigate to Storage, confirm the file exists in the bucket. Then, click the file name and copy the URL of the file from its detail page. -
Open a Cloud Shell, use the following commands to copy and unzip
echo-web.tar.gzto the shell environment:export PROJECT_ID=$(gcloud info --format='value(config.project)') gsutil cp gs://${PROJECT_ID}/echo-web.tar.gz . tar -xvzf echo-web.tar.gz -
Build a docker image of the sample application with a tag called
v1, and push the image to Google Container Registry,docker build -t echo-app:v1 . docker tag echo-app:v1 gcr.io/${PROJECT_ID}/echo-app:v1 docker push gcr.io/${PROJECT_ID}/echo-app:v1 -
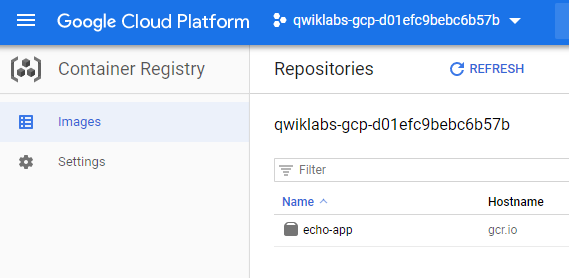
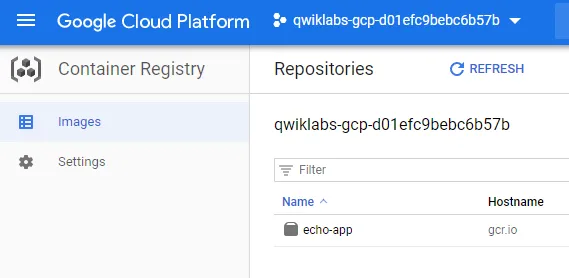
In the web console, navigate to Container Registry > Images to confirm the docker image has been pushed to the cloud repositories.


Next, you need to deploy the application to the Kubernetes Cluster. There are two ways to do this: (1) deploy using the web console, and (2) deploy using Cloud Shell. You can choose either way to finish the lab.
Deploy the Application to the Kubernetes Cluster Using Web Console (Method #1)
-
On the Container Registry page, click the image name echo-app. There should be an image version with the tag
v1. Click the three-dots icon () and select Deploy to GKE. -
The web console will be redirected to Kubernetes Engine > Create a deployment dialog,
Click CONTINUE.
-
In the Configuration section, enter
echo-appas the application name and chooseecho-clusteras the cluster in which the deployment will be created.Click CREATE NEW CLUSTER.
-
Navigate to Kubernetes Engine > Workload page, wait until the status of the deployment becomes OK.
-
Click the name echo-app, then click Expose displayed at the top right corner of the Deployment Details page to create a service for the deployment.
-
In the Expose a deployment dialog, configure the service with a new port mapping as below:
- Port:
80 - Target port:
8000 - Protocol:
TCP - Service type:
Load balancer -
Service name:
echo-web
Click Expose to create the service.
- Port:
-
In the service details, copy and open the IP address of the external endpoints in a new tab of your browser. The sample application should look like this:


Deploy the Application to the Kubernetes Cluster Using Cloud Shell (Method #2)
Alternatively, you can deploy the application using cloud shell instead. After creating your cluster, you need to get authentication credentials to interact with the cluster.
To authenticate the cluster run the following command,
gcloud container clusters get-credentials echo-cluster
Run the following kubectl run command in Cloud Shell to create a new Deployment echo-app from the echo-app container image with opening TCP port 8000:
kubectl run echo-app --image=gcr.io/${PROJECT_ID}/echo-app:v1 --port 8000
Now create a Kubernetes Service, which is a Kubernetes resource that lets you expose your application (that responds on port 8000) to external traffic that responds to normal web requests on port 80, by running the following kubectl expose command:
kubectl expose deployment echo-app --name echo-web \
   --type LoadBalancer --port 80 --target-port 8000
Inspect the echo-web Service by running kubectl get:
kubectl get service echo-web
Copy and open the IP address of the external endpoints in a new tab of your browser, the sample application should look like:
Congratulations! You should accomplish the lab if you follow the above steps.
This post has also been published to Medium. If you like to read and take notes in Medium, please visit Medium (@chriskyfung).
Next lab will continue this exercise and need to update the running echo-app application in the echo-web deployment from the v1 to the v2.
See Also: Learning Google Cloud Platform on Qwiklabs: Learning Map, Assistive Tool and Tips
