☁ Configure a Firewall and a Startup Script with Deployment Manager | logbook

With the Google Cloud web console, you can easily configure and deploy many different GCP resources without any coding skills. I believe that there is no big deal for you, even a beginner, to finish the first and second labs of the Qwiklabs quest of “Cloud Architecture: Design, Implement, and Manage”. The web console assists in quick access to the GCP resources for testing and building small projects. If you are an amateur or hobbyist developer, just make use of the web console is pretty enough.
But if you aim to be a professional cloud engineer, you must know and apply some more advanced skills, such as creating and managing cloud resources with simple templates for a repeatable deployment process. The third lab of the challenge quest, GSP302 “Configure a Firewall and a Startup Script with Deployment Manager“, is to test your ability to define the resources of a basic apache web server. You need to know how to format and parameterize the resource properties in YAML as a Jinja2 configuration file. It is much harder than the previous labs. I recommend you revising the Qwiklabs quest called Deployment Manager, if you are not familiar with building custom templates.
Brief Introduction of Challenge Scenario
When you open the page of this lab on Qwiklabs, you can find the task requirements by click the green activity tracker (on the top right of the page) to expand the score box.

The screenshot above shows that there are six steps required for completing this lab. Combining with the instruction details, they are translated to the following mission statements.
-
Configure a deployment template and apply it to the Deployment Manager.
-
The deployment creates a VM instance with an embedded
startup-script. -
The VM instance that has a startup-script also has a tag called
http. -
Create a firewall rule that allows port 80 (HTTP) traffic and is applied using the tag
http. -
The virtual machine responds to web requests using the Apache web server, which should be installed by the startup script.
-
The Deployment manager includes startup script and firewall resources.
Download the baseline Deployment Manager template
The lab gives a basic deployment manager template, containing with the .jinja, .yaml and .jinja.schema files as well as the sample startup script. In a cloud shell, use the following commands to download and unpack the files.
mkdir deployment_manager
cd deployment_manager
gsutil cp gs://spls/gsp302/* .
You can explore the files by opening a Cloud Shell code editor. The template for you to deploy a virtual machine

Edit the Jinja Template
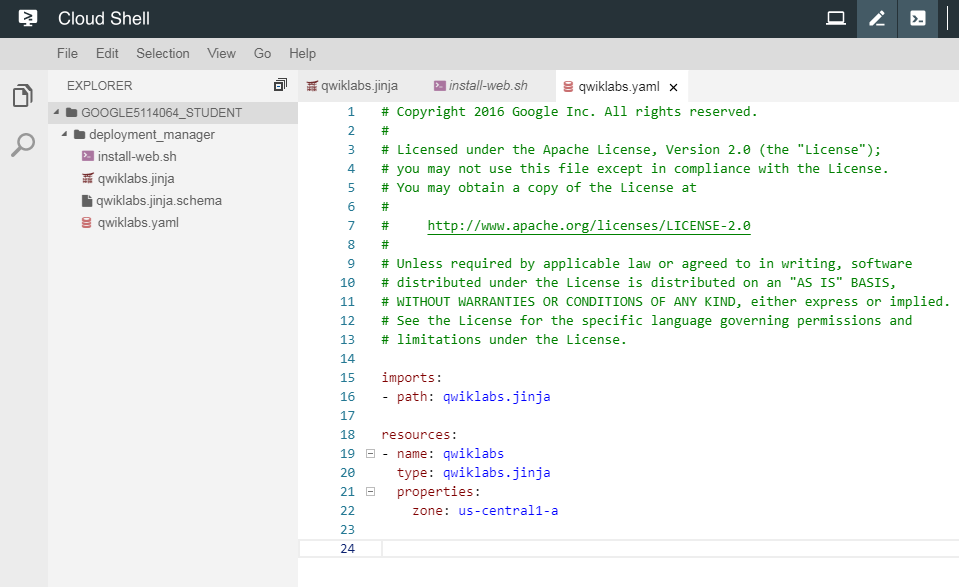
Open the qwiklabs.jinja file, you should see the following codes:

The template already includes the following configurations:
- Instance name: vm-test
- Zone: Read the value from the
qwiklabs.yaml - Machine Type: f1-micro
- Disks: Persistent, Debian-9
- Network Interfaces: Default Network with a public IP address
To fulfil the lab requirements, the template still does not have,
- metadata for embedding the startup script, and
- a tag called
http.
Next, you need to add two more properties to the instance configuration. If you want to know more about the properties of a GCE instance, read REST Resource: instances in the Compute Engine documentation.
Setting Metadata and Using Startup Scripts
Open the install-web.sh file, you should see the following codes:

Let’s recall your memory. You have already used them to manually install an Apache web server in the previous lab, if you have done the first challenge lab “Google Cloud Essential Skills“.
This time, you need to deploy the commands automatically with the Deployment Manager. It is similar to use a remote startup script in the previous lab “Deploy a Compute Instance with a Remote Startup Script“.
You have to configure metadata, but you use the key startup-script and the commands directly as the value (rather than startup-script-url and a remote file URL).
For more information, read Running startup scripts in the Cloud Deployment Manager documentation.
Add the following properties to the instance configuration:
    metadata:
      items:
      - key: startup-script
        value: |
          #!/bin/bash
          apt-get update
          apt-get install -y apache2
Add Tag Item
A tag called http is required to associate the GCE instance with the firewall rule that will be created in the next section. Append the following properties to the instance configuration:
    tags:
      items:
      - http
Next, you need to add a firewall resource to the same .jinja file.
Add Firewall Rule for HTTP traffic
Firewall rules and VM instances are separated resources, so make sure to correctly space/indent the firewall configuration code to be part of the resource block. You may manually list and parameterize the configuration all by yourself, if you can. A more robust way to use the GCP web console to visually configure and generate a REST profile with creating the firewall.
Format the REST profile using a JSON to YAML converter, such as https://www.json2yaml.com/. You should obtain something similar to the following codes:
- type: compute.v1.firewall
  name: default-allow-http
  properties:
    network: https://www.googleapis.com/compute/v1/projects/{{ env["project"] }}/global/networks/default
    targetTags:
    - http
    allowed:
    - IPProtocol: tcp
      ports:
      - '80'
    sourceRanges:
    - 0.0.0.0/0
Copy the above firewall configuration to the .jinja file. The final qwiklabs.jinja file should become:
Replace <YOUR-SERVICE-ACCOUNT-EMAIL> in Line 31 to the Service Account of your GCP project, if you copy the codes from this snippet.
Save the file change.
Apply the Deployment
It’s time to deploy the configuration file and see if the deployment works.
Run the following gcloud command in Cloud Shell.
gcloud deployment-manager deployments create vm-test --config=qwiklabs.yaml
In the web console, navigate to Deployment Manager to monitor the progress. Also, go to Compute Engine and VPC Network > Firewall to verify the deployment results.
Congratulations! You should accomplish the lab if you follow all the above steps.
This post has also been published to Medium. If you like to read and take notes in Medium, please visit Medium (@chriskyfung).
If you finished the first three labs of the challenge quest, you are capable of building Linux-based web servers on Google Cloud. How about a Windows server, do you know how to set up an IIS web server on it and allow RDP access through the VPC network? Next lab is a challenge of configuring a secure Windows web server with a Bastion host (or jump box).
See Also:
