☁ Google Cloud Essential Skills: Challenge Lab | logbook
Last time I wrote about a challenging lab entitled “Configure Secure RDP using a Windows Bastion Host with Terraform“ within the Qwiklabs quest of “Cloud Architecture: Design, Implement, and Manage”. Different from the normal hand-on-labs on Qwiklabs, the challenge labs do not provide step-by-step cookbooks for you. Instead, only a scenario is given to you. So, you have to figure out the solutions by yourself as the exercises for who prepare for the Google Cloud Certified Professional Cloud Architect. Some of them are hard and tricky, and you cannot try the labs again and again (because each lab has a limited quota to attempt). So, I am going to make a logbook for each of the labs in the challenge quest. I hope the articles would help you if you get stuck with taking those labs.
This time is about the easiest lab in the challenge quest – GSP101 “Google Cloud Essential Skills: Challenge Lab“. It just asks you to set up a VM instance with running Apache webserver. Pretty BASIC! If you know how to do that, I recommend you to try your best. Do not read the rest of the article unless you really need some more Hints.
Note: Please DO NOT confuse the current lab with GSP313 Create and Manage Cloud Resources: Challenge Lab. If you’re looking for that logbook, please click on the link here.
Brief Introduction of Challenge Scenario
When you open the page of this lab on Qwiklabs, you can find the task requirements by click the green activity tracker (on the top right of the page) to expand the score box.

The screenshot above shows that there are 6 steps required for completing this lab. Combining with the instruction details, they are translated to the following mission statements.
-
Create a Linux virtual machine, name it
apacheand specify the zone asus-central1-awith necessary firewall rules (allow HTTP). -
Configure Apache2 Web Server in your instance.
-
Test your server that shows a
"Hello World!"page.
Step 1 - Create a VM instance
To create a Compute Engine instance, the easiest way is through the GCP web console. In the Console, navigate to Compute Engine > VM instances. When you create a new VN instance,
- Make sure you give the instance a name, called
apache, and - Select
Allow HTTP trafficunder the Firewall section.


You can leave other fields with the default settings, then click Create.

Step 2 - Install Apache and Overwrite Default Web Page
After the VM instance is really, you have to configure it as an Apache webserver. If you do not remember how to install Apache, I advise you to look up the command lines from the lab GSP212 “VPC Flow Logs - Analyzing Network Traffic“.
Keep inside the VM instances console, click SSH to launch a terminal, and connect to the apache instance. You will install the packages with the following command-lines.
In the SSH terminal, update the package index:
sudo apt-get update
Install the apache2 package:
sudo apt-get install apache2 -y
Copy the External IP of the instance to your web browser. You should see an Apache2 Debian Default Page if the web server is successfully installed.

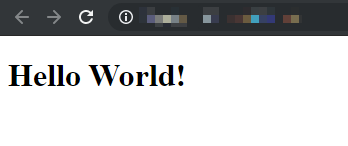
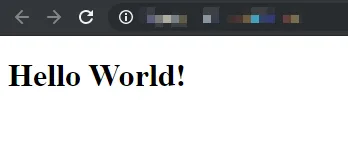
Finally, you have to overwrite the default web page to rendering with “Hello World!”:
echo '<!doctype html><html><body><h1>Hello World!</h1></body></html>' | sudo tee /var/www/html/index.html
Refresh the web page in your browser,

Congratulations! You should accomplish the lab if you follow all the above steps.
This post has also been published to Medium. If you like to read and take notes in Medium, please visit Medium (@chriskyfung).
Creating a Compute Engine instance as a web server using the web console is pretty basic. It is always a good start for you to build anything from scratch, and manually install packages via an SSH terminal. Alternatively, you can initialize identical instances with a startup script automatically, and you can practise it in the next lab, Qwiklab/Logbook: Deploy a Compute Instance with a Remote Startup Script.
See Also:
