☁ Deploy and Manage Cloud Environments with Google Cloud: Challenge Lab | logbook

Did the hints from the last article help you to finish the first challenge lab? Are you familiar with the basic knowledge from the Google Cloud Essentials quest now?
It’s important before you move on to the exercise GSP314 Deploy and Manage Cloud Environments with Google Cloud: Challenge Lab, formerly known as Cloud Architecture: Challenge Lab, which will be studied below. This lab is much complicated than the last one. It will test your skills and knowledge for creating multiple VPC networks using Deployment Manager configuration, create a Kubernetes cluster with services, set up Cloud Logging, and update the services with Spinnaker. It requires you well understand and integrate what you learned and experienced from the labs in the Cloud Architecture quest.
In the lab scenario, your client has already established a product development environment with Spinnaker and the application delivery pipeline in the network kraken-build-vpc. Those resources will be provisioned while the lab starts. You only need to complete the unfinished part of the architecture (in the red box of the diagram).
The challenge contains 3 requisite tasks:
- Create the Production Environment;
- Setup the Admin instance;
- Verify the Spinnaker deployment
Task 1: Create the production environment
We can further subdivide it into 3 sub-tasks:
1.1 Create the kraken-prod-vpc using the given Deployment Manager configuration
First of all, navigate to Deployment Manager in the Console to check the deployment status of kraken-jumphost.

After the jumphost has been created, navigate to Compute Engine > VM instances.
-
Click the SSH button to access the jumphost instance.
-
In the SSH window, go to the
/work/dmdirectory. -
Use an editor to open the configuration file prod-network.yaml, and replace
SET_REGIONwithus-east1. -
Create the kraken-prod-vpc with the YAML file using
gcloudcommand.
Hint: Refer and modify thegcloud deployment-managercommand in the lab GSP060 Deployment Manager - Full Production.

1.2 Create a Kubernetes cluster in the new network
Return to Cloud Console, click on Navigation menu > Kubernetes Engine > Cluster.
Click Create Cluster. Make sure you:
- name the cluser kraken-prod
- set the number of nodes to 2
- choose kraken-prod-vpc in the network tab
1.3 Create the frontend and backend deployments and services
Hint: Refer and modify the kubectl create command in the lab GSP021 Orchestrating the Cloud with Kubernetes.
Return to the SSH window, use the following commands to create the frontend and backend deployments and services:
cd /work/k8s
kubectl create -f deployment-prod-backend.yaml
kubectl create -f deployment-prod-frontend.yaml
kubectl get pods
kubectl create -f service-prod-backend.yaml
kubectl create -f service-prod-frontend.yaml
kubectl get services
Click Check my progress to verify Task 1.
Task 2: Setup the Admin instance
2.1 Create a VM instance
-
In the Console, click on Navigation menu > Compute Engine > VM instances.
-
Click Create instance.
Make sure you:
- name the instance kraken-admin
- choose the zone us-east1-b
-
setup both kraken-mgmt-subnet and kraken-prod-subnet as the network interfaces in the Networking tab
After the instance being created, copy ID from its detail page.

2.2 Create a Monitoring workspace
-
Click on Navigation menu > Monitoring.
-
Click Alerting from the left menu, then click Create Policy.
-
Click Add Condition, and then set up the Metrics with the following parameters:
Fields Options Resource Type GCE VM Instance Metric CPU Utilization compute.googleapis.com/instance/cpu/utilizationFilter Choose instance id and paste the value copied from kraken-admin Threshold 0.5 for 1 minute -
Click ADD, and then add an email in the Notification setting.
Click Check my progress to verify Task 2.

Task 3: Verify the Spinnaker deployment
Hint: Refer to the procedures in the lab GSP114 Continuous Delivery Pipelines with Spinnaker and Kubernetes Engine.
In this lab, several resources have been already provisioned. you DO NOT need to implement the following tasks:
- Set up Cloud Pub/Sub to trigger Spinnaker pipelines
- Deploying Spinnaker using Helm
- Configure the Cloud Build triggers
- Configuring the deployment pipelines
3.1 Connect the Spinnaker console
The lab manual suggests you use Cloud Shell and kubectl to port forward the spin-deck pod from port 9000 to 8080, while I perform to work around with the Cloud Console using the following steps.
-
In the Console, click on Navigation menu > Kubernetes Engine > ServiceS & Ingress
-
Search spin-deck.
-
Click Port Forward at the end of the detail page.
-
The Cloud Shell will launch automatically with the port forwarding command.
-
Click the Web Preview icon at the top of the Cloud Shell window and select Preview on port 8080, to open the Spinnaker user interface.


3.2 Clone your source code repository
-
In the Console, click on Navigation menu > Source Repositories.
-
Click sample-app.
-
Click Clone at the top of the repository, and copy the git clone command to the Cloud Shell.
-
Run the copied command to download the sample application source code, and then set the username and email address for the Git commits in this repository using run the following codes:
cd sample-app
git config --global user.email "$(gcloud config get-value core/account)"
git config --global user.name "$(gcloud config get-value core/account)"

3.3 Triggering your pipeline from code changes
From your sample-app directory, change the color of the app from orange to blue:
sed -i 's/orange/blue/g' cmd/gke-info/common-service.go
Tag your change and push it to the source code repository:
git commit -a -m "Change color to blue"
git tag v1.0.1
git push --tags
In the Console, in Cloud Build > History, the new build will appear in a minute.
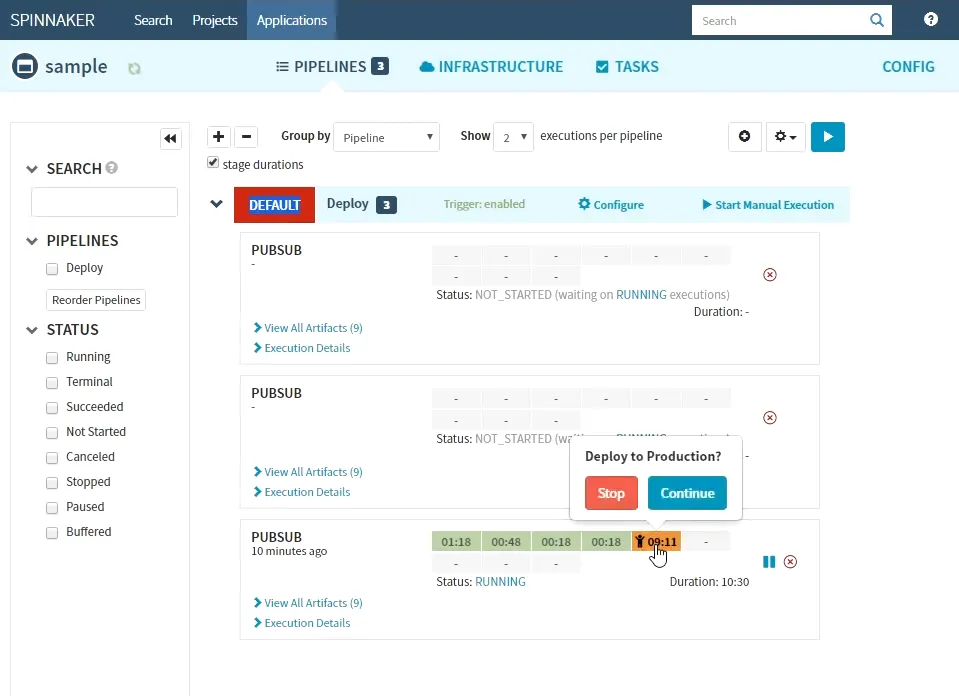
Return to the Spinnaker UI and click Pipelines to watch the pipeline start to deploy the image to production.

Once the pipeline completes, the color of the sample application has changed from orange to blue in the canary deployment, click Check my progress to verify Task 3.
Congratulations! You completed this challenge lab.
Summary
This lab is challenging. You might not know what need to do if you cannot spot similar pieces from the prior training labs. You need to familiar with kubectl and git commands as well as VPCs and Kubernetes in the multiple network environment. Since some steps are hard to undo, it is necessary to well-check the options and parameters before attempting to create resources and update the pipeline.
See Also:
